How To
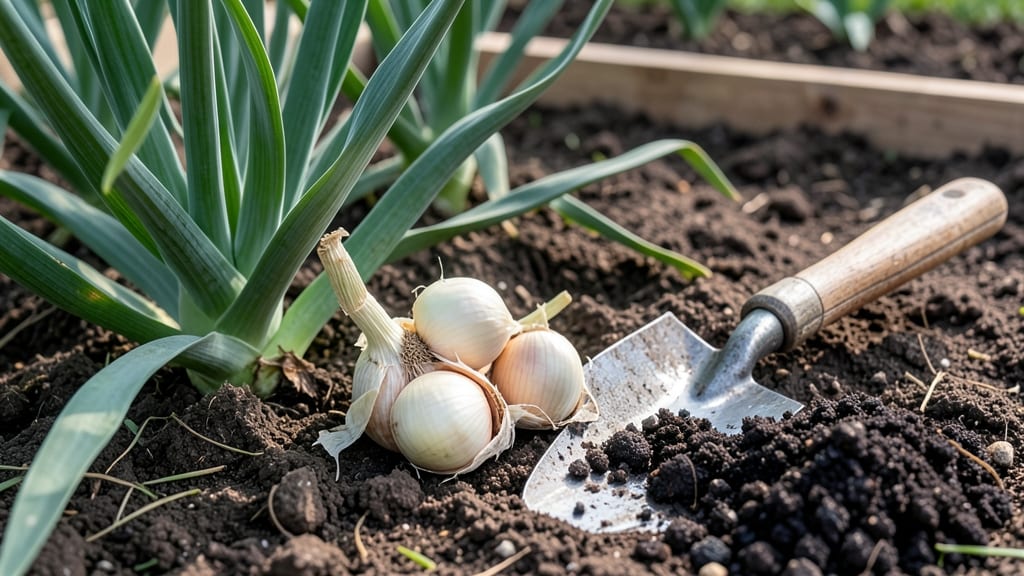
Timing your fall garlic planting correctly is the difference between plump, flavorful bulbs next summer and a wasted garden bed. Too early, and your 🧄 cloves rot; too late, and they’ll bolt before spring—leaving you with bitter, underdeveloped harvests.
The key? Planting 4-6 weeks before your first frost, when soil temps dip but haven’t frozen solid.
If you’re in USDA Zone 6a (like much of the Midwest), that means October or early November—but your exact window depends on your local climate. In colder regions, you might push it to late November, while milder Southern zones could stretch it into December.
The goal? Give your garlic enough time to root before winter sets in.
Don’t stress over perfect conditions—garlic is hardy and forgiving. With the right soil prep (well-draining, loose, and amended with compost) and a few simple tricks, you’ll set yourself up for a high-yield harvest the following summer.
I’ll walk you through the exact steps, from spacing cloves to mulching for winter protection, so you can avoid the most common mistakes.
Ready to grow garlic that stores like a pro? Let’s dive into the step-by-step guide that’ll have you harvesting bold, healthy bulbs in mid-summer—no guesswork required.
Fall planting months for garlic by US hardiness Zone: exact timing for success
Timing your garlic planting is the key to avoiding winter kill or premature sprouting. The ideal window is 4–6 weeks before your first frost, but this translates to different months depending on your USDA hardiness zone.
For example, gardeners in Zone 3 should plant by mid-October, while those in Zone 8 can wait until early December. Soil temperature—below 40°F but not frozen—is critical for root establishment before dormancy.
Missed your zone’s window? Don’t panic. Early September is the last acceptable time in cooler climates, while late November works in mild zones. The goal is to give garlic roots time to anchor before the ground freezes solid.
In Zone 5–7, aim for October 15–November 1, the sweet spot for most gardeners. Always check your local last frost date—this is your deadline.
Regional adjustments matter. In the Pacific Northwest, where winters are wet but mild, plant late October to November. Meanwhile, in the Deep South (Zones 8–10), garlic thrives when planted November–January, taking advantage of cooler temperatures without frost risk.
Even within a zone, microclimates—like sheltered garden beds—can shift your timeline by 1–2 weeks.
Soil temperature is the real clock. Use a soil thermometer to confirm readings between 40–50°F at planting depth. If your soil is still warm (60°F+), cloves may sprout too soon and rot.
In Zone 4 or colder, plant earlier (September–early October) to avoid winter kill. Conversely, in Zone 9+, garlic can handle winter rains if planted in December–January.
| USDA Zone | Planting Window | Soil Temp Goal | Regional Notes |
|---|---|---|---|
| Zones 3–4 | Mid-September to October 15 | 40–50°F | Plant early; soil freezes fast |
| Zones 5–6 | October 1–November 1 | 40–50°F | Sweet spot for most gardeners |
| Zones 7–8 | td style="padding: 8px; border-bottom: 1px solid #a8e6a1;">November 1–December 1545–55°F | Mild winters; extend window | |
| Zones 9–10 | December–January | 50–60°F | No frost; plant after holidays |
Pro tip: Use hardneck varieties in colder zones (they need cold to form bulbs) and softneck varieties in mild climates. For example, ‘German Red’ hardneck thrives in Zones 4–7, while ‘Silverskin’ softneck is better for Zones 8–10.
Always buy organic, untreated cloves from a nursery—store-bought garlic often won’t sprout reliably.
What if you’re in the Southern Hemisphere? Flip the seasons: Plant garlic in May–July (Australian autumn) for a summer harvest. The same 4–6 weeks before frost rule applies, but your frost dates shift to winter.
In New Zealand (Zones 9–10), aim for May–June, when soil cools but doesn’t freeze.
Missed the fall window? Don’t despair—spring planting is possible, though bulbs will be smaller. Plant as early as February in mild zones or March–April in cooler areas, but expect 50% smaller yields. For best results, stick to fall—it’s the gold standard for flavor and storage life.
Remember: Soil prep starts now. Work in compost to improve drainage, and avoid fresh manure—it can cause rot. If your soil is heavy clay, amend with sand or perlite to prevent waterlogging.
Once planted, mulch heavily (4–6 inches of straw) to insulate roots through winter. This single step can mean the difference between thriving bulbs and frozen failures.
🌱
Step-by-step garlic planting guide: soil, spacing, and depth for bulb development
Now that you’ve nailed the timing, let’s dive into the how. Planting garlic correctly ensures those plump bulbs you’re dreaming of. Start by selecting firm, disease-free cloves from organic garlic—avoid those sprouting from the grocery store, as they’re often treated to prevent sprouting and won’t grow well.
Next, prep your soil like a pro. Garlic thrives in well-draining, loose soil with a pH between 6.0 and 7.0. If your soil is heavy clay or rocky, amend it with compost or aged manure to improve drainage and fertility.
A quick soil test will tell you if you need to adjust the pH—garlic hates soggy roots!
🌱 Step-by-Step Garlic Planting Guide
- Break apart bulbs into individual cloves, ensuring each has a root attached. Let them dry in the sun for a few hours to prevent rot.
- Plant cloves 2 inches deep, with the root-end down and the pointy end up. Spacing matters—aim for 4–6 inches apart in rows 12 inches apart.
- Water lightly after planting to settle the soil, but avoid overwatering—garlic needs moist but not soggy soil to thrive.
- Mulch heavily with straw or leaves (4–6 inches thick) to insulate roots during winter and suppress weeds.
- Label your rows if growing multiple varieties, since garlic takes nearly a year to mature!
Pro tip: If your soil is sandy or poor, mix in a 50/50 blend of compost and coconut coir to retain moisture and nutrients. Garlic is a heavy feeder, so don’t skimp on organic matter—think of it as a long-term investment for those juicy bulbs.
For rocky or uneven soil, consider raised beds. They warm up faster in spring, give you better control over drainage, and make harvesting easier. Just ensure the bed has drainage holes if using containers—garlic hates wet feet!
Once planted, resist the urge to overwater in winter. Garlic is dormant and only needs occasional moisture to survive. Come spring, you’ll see those first green shoots poking through—your reward for perfect timing and technique!
Remember, consistency is key. Whether you’re a beginner or veteran gardener, these steps will set you up for bountiful harvests next summer. Happy planting! 🌱