Planting
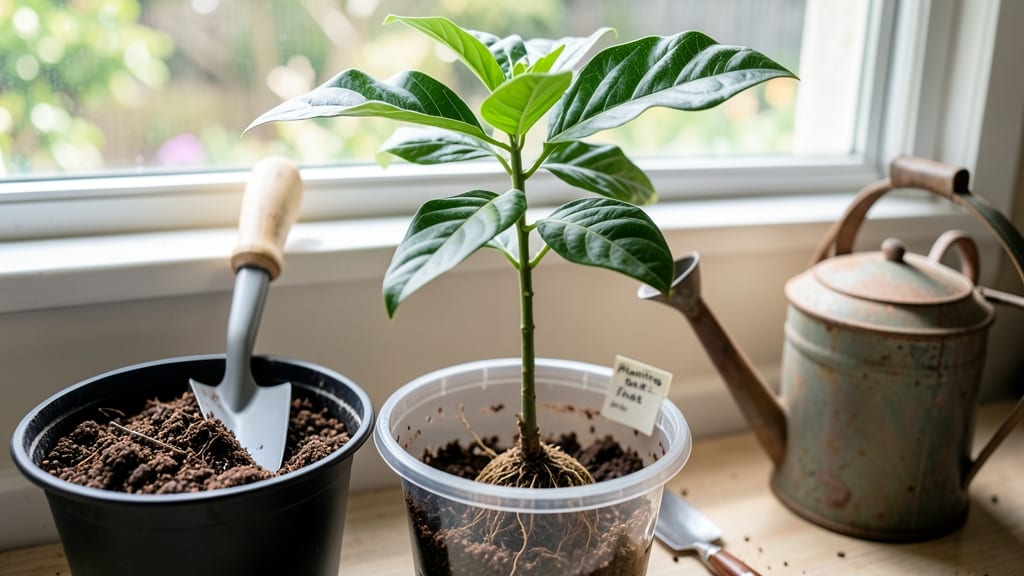
Wondering when should I put my avocado plant in soil? The answer isn’t just about waiting—it’s about watching for the perfect signs that your little 🥑 seedling is ready to thrive in its new home.
Most people make the mistake of rushing the transplant, only to watch their avocado plant struggle with weak roots or stunted growth. But with the right timing, you’ll set your plant up for success—whether you’re growing it indoors or outdoors in Zone 6.
In this guide, I’ll walk you through the key indicators that your avocado’s roots are strong enough for soil, plus the best conditions for a smooth transition. No more guesswork—just a foolproof way to give your plant the perfect start.
Ready to learn the exact moment your avocado is ready? Let’s dive in and make sure your transplant is flawless.
How to test avocado roots: the 3-Step method for transplant readiness
Transplanting your avocado seedling too early can stunt its growth, while waiting too long risks root damage. The key is checking for three critical root signals: length, color, and texture. These indicators show your seedling has developed enough to thrive in soil instead of water.
Start by gently removing your seedling from its water glass. Look for roots that are at least 2-3 inches long. Shorter roots may not anchor well in soil, leading to top-heavy instability.
If roots are still under 2 inches, return it to water for another 2-4 weeks—patience here prevents future struggles.
Next, examine the root color. Healthy avocado roots should be white or pale cream, not dark brown or black. Dark roots signal rot, which means your seedling has been overwatered or lacks oxygen.
If you spot rot, trim the affected roots with clean scissors and let the seedling recover in fresh water for a week before re-testing.
Finally, check the root texture. Roots should feel firm but flexible, like a fresh carrot. Soggy or mushy roots indicate overwatering, while brittle roots suggest dehydration. Both conditions require immediate adjustments before transplanting.
✅ Step-by-Step Root Check for Transplant Readiness
-
Step 1: Root Length
Remove seedling from water. Measure roots—aim for 2-3+ inches. Shorter roots mean more time in water. -
Step 2: Root Color
Healthy roots = white/cream. Dark/brown roots = rot. Trim damaged roots and recover in fresh water. -
Step 3: Root Texture
Roots should be firm but bendy. Soggy = overwatered. Brittle = underwatered. Adjust care before transplanting.
Timing your transplant isn’t just about root health—it’s also about seasonal cues. Aim to transplant in late spring or early summer when temperatures are warm but not scorching. This gives your seedling 6-8 weeks of growth before cooler weather slows development.
For indoor growers, place your seedling near a south-facing window or under grow lights for 12+ hours daily. Outdoor transplants need partial shade for the first week to reduce stress. Avoid transplanting during extreme heat or cold, as these conditions shock delicate roots.
If your roots pass all three tests but your seedling still looks weak, consider hardening it off. Move it outdoors for 2-3 hours daily over 5-7 days to acclimate. This mimics natural conditions and boosts resilience before full transplant.
Remember, avocado seedlings grow best in well-draining soil with 60% perlite/sand mixed into potting soil. Poor drainage is the #1 killer of young avocado trees—more on this in the next section! 🌱
Best soil and pot setup for avocado seedlings: avoid these common mistakes
Now that you’ve confirmed your avocado seedling is ready for transplant, the next critical step is choosing the right soil mix and pot size. Avocado plants hate soggy roots, so drainage and aeration are non-negotiable.
Use a well-draining potting mix blended with perlite or sand—this prevents root rot, which is the #1 killer of young seedlings. A mix of 60% potting soil, 30% perlite, and 10% compost works perfectly for most climates.
For the pot, opt for a container at least 6 inches deep and 8 inches wide—this gives roots room to spread without becoming root-bound too quickly.
Terracotta pots are ideal because they wick away excess moisture, but plastic pots with drainage holes also work. Never reuse containers from other plants without sterilizing them first, as old soil can harbor diseases.
| Soil Type | Drainage | Root Health Impact |
|---|---|---|
| Well-draining mix (60% potting soil, 30% perlite, 10% compost) | Excellent (prevents waterlogging) | Strong, healthy roots; minimal rot risk |
| Compacted garden soil | Poor (traps moisture) | Root rot; stunted growth |
| Pure perlite or sand | Too fast (dries out roots) | Weak root development; dehydration |
When transplanting, bury the seedling only up to its original soil line—never deeper than where it sat in water. Avocado seedlings are sensitive to stem burial, which can cause rotting.
Gently pat the soil around the base to secure it, then place the pot in a bright, indirect light spot for the first week. Avoid direct sun immediately after transplanting, as it stresses the plant further.
Pro tip: Add a 1-inch layer of mulch (like orchid bark or coconut coir) on top of the soil to retain moisture and regulate temperature. This mimics the avocado’s natural tropical environment while keeping roots cool in hot climates.
Just avoid piling mulch against the stem—always leave a 1-inch gap to prevent moisture buildup.
If you’re planting outdoors, wait until nighttime temperatures stay above 55°F and choose a spot with partial shade for the first month. Avocado seedlings are tender and can’t handle frost or extreme heat right away. Gradually introduce them to full sun over 2-3 weeks to harden them off.
Remember, the key to a smooth transition is patience. Rushing the process leads to transplant shock, but with the right soil, pot, and gradual acclimation, your avocado seedling will thrive. Watch those roots grow—soon, you’ll be harvesting fruit from your own tree! 🌱